Sea Eagle offers a wide range of inflatable boats, kayaks, paddleboards, and a canoe to meet the need of almost every kind of boating experience.
Cart
0
Product:
Products:
(empty)
No products
To be determined
Shipping
¥0
Total
Product successfully added to your shopping cart
Quantity
Total
There are 0 items in your cart. There is 1 item in your cart.
Total products
Shipping
To be determined
Total
How to Follow the Instructions:
As you watch the video, you can read the main points below. There are also photos and video caption times to help you keep your place. PAUSE and PLAY as you go.
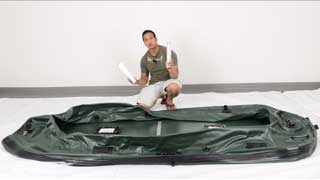
- (0:00)

- (0:24) There are a few one-time light assembly requirements, but all you need is a Philips screwdriver.
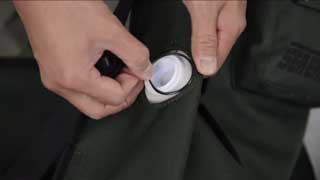
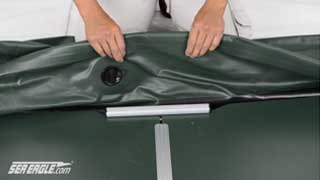
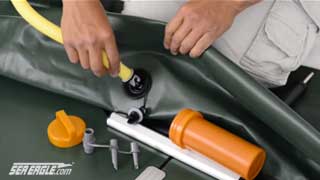
- (0:30) If you have the Deluxe Fishing Seat, install the valve bodies onto the valve base. Put the retaining rings over the valve base.
- You only need to do this once.
- Helpful Hint: put the valve body with the retaining ring in warm water for a few minutes to make the plastic softer and easier to put on the valve base.
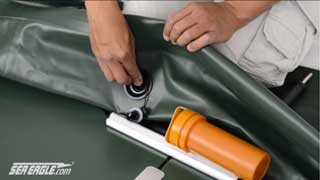
Then, screw the valve body into the valve base and remove the cap.
- (0:50) Insert the large adaptor of the pump into the valve and inflate until the seat is firm.
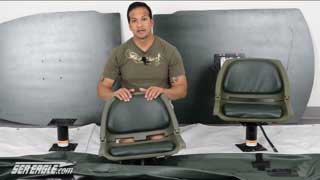
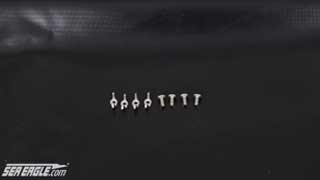
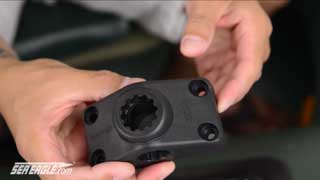
- (1:15) If you have the Wise Swivel Seats, take the 4 shortest bolts and wing nuts included in the seat kit, turn the base 45 degrees, and attach the pedestal with the 4 bolts. Make sure they are on tight.
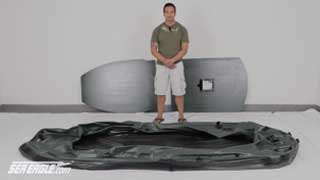
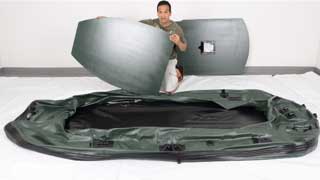
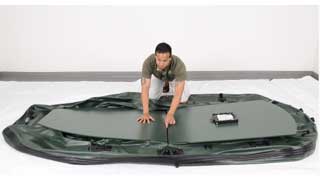
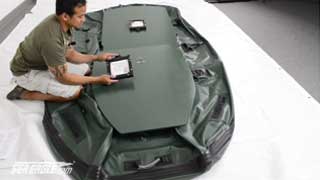
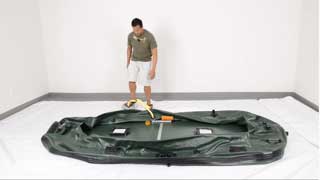
- (2:00) Lay your floorboards on the boat. Put the one with the tapered end at the front of the boat and the wider floorboard at the back of the boat.
- (2:30) The two boards should meet at the center of the boat in line with the oarlocks.
- (2:50) Attach the seat mount to the pre-drilled holes on the floorboard using the 4 long bolts.

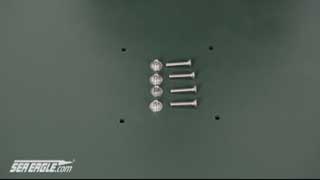
- (3:10) Point the release-a-seat handle towards the center of the boat. Do the same for the stern board. Both release-a-seat handles should be pointing to the center of the boat. Line up the holes on the mount with the holes on the floorboard, and insert the 4 long bolts. Turn the floorboard on its side, and from the bottom, screw on the T-nuts. Tighten all the bolts.
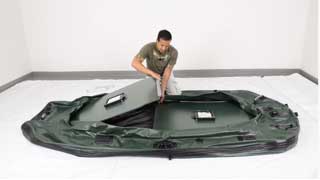
- (4:15) Put the floorboards under the pontoons. Then, take the long H-bar and put it between the two floorboards.
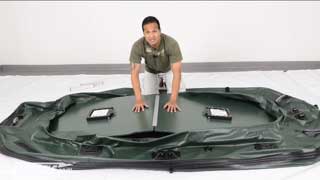
- (4:50) With the H-bar in place, press down on the center of the boards.
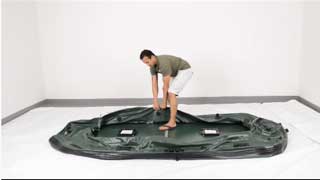
- (4:58) Position the floorboards by standing with one foot inside the boat and one foot outside. Then, pull up on the pontoon all the way around the boat.
- (5:16) Insert the 2 side struts. Pull the side of the boat back, lift up the floorboard, and slide them on.
- (5:30) Inflate the boat half-way. Remove the cap and press and turn the valve stem a ¼ turn to the left until it pops up. It is now ready to retain air. (Since this is a one-way valve, air can go in but not come out. When the valve is in the down position, air can go in and out)
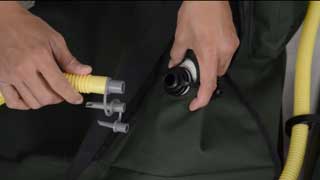
- (5:50) Put the recessed valve adaptor in the other end of the hose (You’ll find it in the orange repair kit).
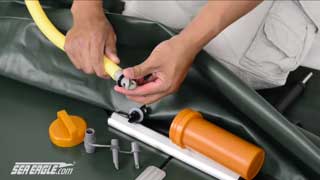
- (5:56) Place the hose adaptor into the valve. Turn to the right until it’s tight.
- (6:04) Inflate the boat ½ way if you have the optional Motor-mount. If not, you can inflate the boat all the way.
- (6:10) SEA EAGLE also has electric pumps (special order). Email : [email protected]

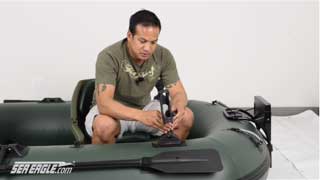
- (6:20) After you have inflated all 3 chambers ½ way, install the Motor-mount if you have one.
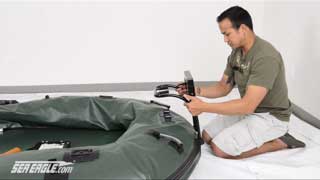
- (6:35) Now, fully inflate your boat. The working pressure of the 285fpb is 3.2 PSI (22 Kpa). Only use SEA EAGLE approved pumps. Never use an air compressor.
* The A41 pump maxes out at 3.2 PSI (22 kPa), so you don’t need to worry about over-inflating your boat. Pump until it is too difficult to continue, and you have reached 3.2 PSI (22 kPa).

- (6:40) Slide the Wise Swivel Seat into the seat mount.
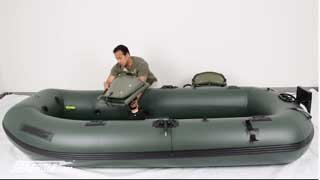
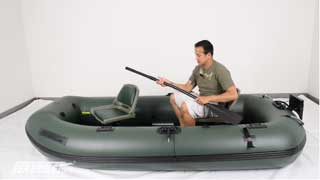
- (7:00) Assemble the oars by snapping them together. Then put them in the oarlocks, secure them with the retaining nuts, and Velcro to the boat.
- (7:30) Install the Scotty Mount Base by placing it on the mount. If you sit inside the boat, you should be able to read “Scotty” right side up. There is also an arrow the reads “INBOARD.” The arrow should be pointing inside the boat. Insert the 4 medium sized bolts that are located in the orange repair kit, and screw them in tightly.
- (8:10) Attach the Scotty Rod Holder by directing it inwards, insert it into the base, and position it to your liking.
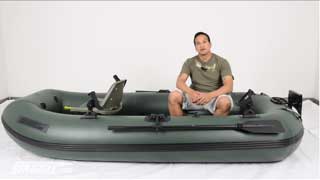
- (8:21) This completes your one-time pre-assembly.
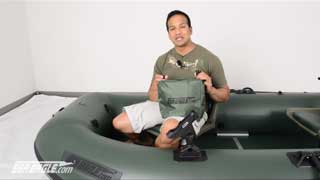
- (8:28) Attach the Bow Stow Bag by clipping it to the 4 clips on the bow of the boat.
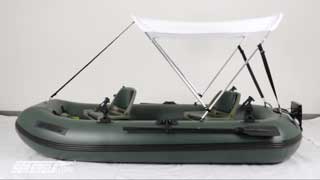
- (8:40~11:40) The Stealth Stalker Canopy is not available in Japan.
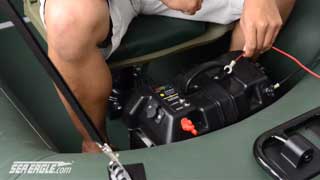
- (11:54) Whenever using an electric motor, be sure to use a battery power center with an inline fuse or circuit breaker. Never attach a motor directly to a battery as this could result in a fire.
Have fun in your new Sea Eagle boat!